DIY Mobile: Free Templates and Instructions for Kids
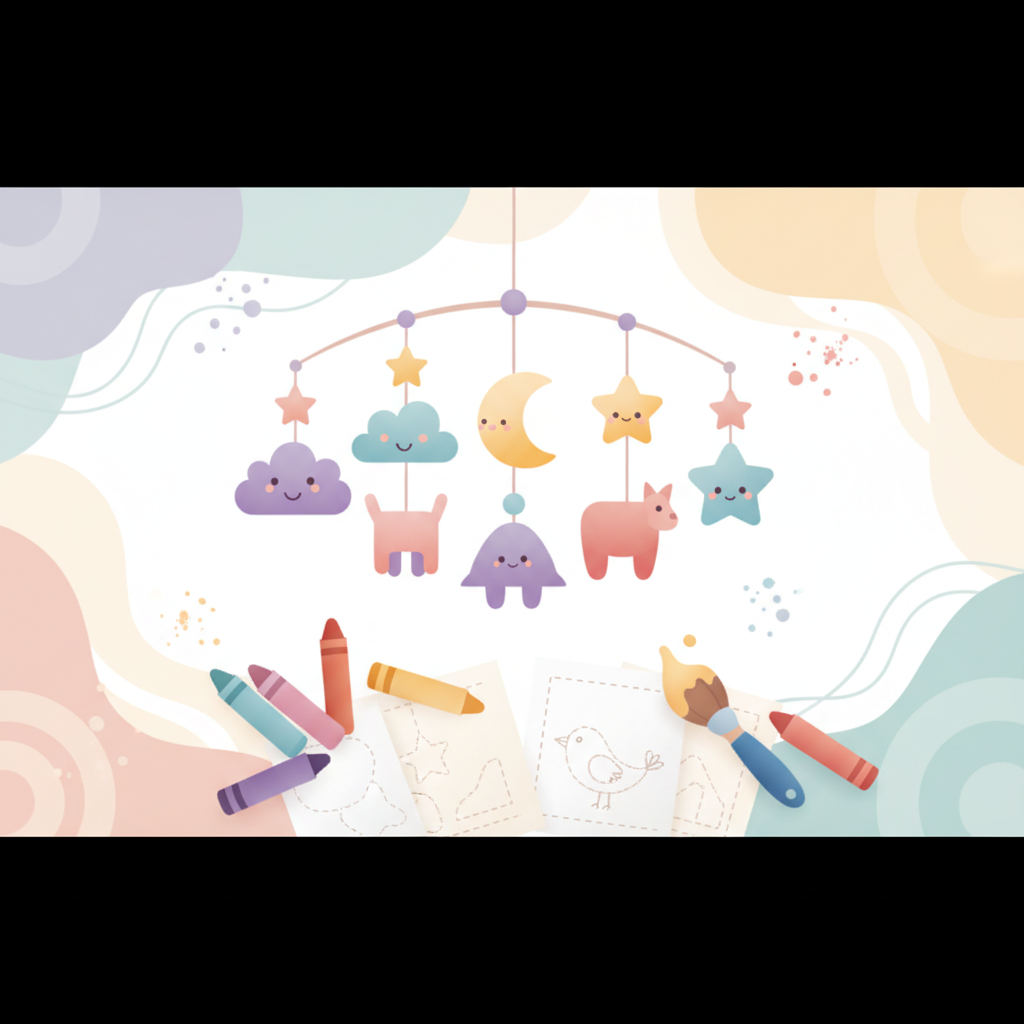
Why Make a DIY Mobile? Benefits for Kids and Home
There's something truly magical about a homemade mobile gently swaying in a child's room. Far more than just a decoration, a DIY mobile crafted with love offers a wealth of benefits for both children and their families. When you choose to make a mobile instead of buying one, you're not just saving money; you're investing in a unique, personalized piece that holds sentimental value and sparks creativity.
For children, the process of creating a mobile is an enriching experience. It's a fantastic way to develop crucial skills:
- Unleashing Creativity: From choosing a theme to selecting colors and shapes, kids get to express their unique vision. This freedom of expression nurtures imagination and artistic flair.
- Honing Fine Motor Skills: Activities like cutting shapes, punching holes, tying knots, and carefully gluing pieces together are excellent exercises for developing hand-eye coordination and dexterity.
- Boosting Problem-Solving Abilities: Deciding how to balance elements, where to place each piece, and how to ensure the mobile hangs evenly requires critical thinking and a bit of trial and error.
- Fostering a Sense of Accomplishment: Seeing their own creation hanging proudly in their room gives children a powerful sense of pride and achievement, boosting their self-esteem.
- Personalization and Ownership: A mobile they helped create makes their space feel truly their own, reflecting their interests and personality in a way no store-bought item can.
For parents and guardians, crafting a mobile together is a wonderful bonding activity. It provides quality time away from screens, encouraging communication and shared laughter. Plus, using readily available or recycled materials makes it an eco-friendly and affordable project. Imagine the joy of pointing to a unique decoration and saying, "We made that together!" – it's a memory in the making and a beautiful addition to any children's room.
Gather Your Supplies: What You'll Need for Your Homemade Mobile
One of the best things about making a DIY mobile is that you don't need expensive or specialized equipment. Many of the materials can be found around your home or picked up cheaply from a craft store. Here’s a comprehensive list to help you get started:
- For the Mobile Base/Structure:
- Two thin, lightweight sticks (e.g., from a park, bamboo skewers, dowels)
- An embroidery hoop (various sizes work well)
- A sturdy wire hanger (reshaped into a circle or cross)
- A cardboard ring (cut from a cereal box, for a lightweight option)
- For the Decorative Elements:
- Construction paper or cardstock (various colors)
- Felt scraps (adds texture and durability)
- Fabric scraps (old clothes, bedsheets)
- Pipe cleaners or chenille stems
- Pom-poms (various sizes)
- Beads (larger ones for younger children for safety)
- Yarn or string (different colors and thicknesses)
- Cotton balls (for clouds)
- Old magazines or newspapers (for collage elements)
- Foil or glitter paper (for sparkle)
- Essential Tools:
- Sharp scissors (child-safe scissors for kids)
- Craft glue (PVA glue is great for paper, fabric glue for felt/fabric)
- Hot glue gun (for adult use only, with extreme caution – excellent for quick, strong bonds)
- Hole punch (single hole punch is ideal)
- String, fishing line, or dental floss (for hanging elements)
- Pencil and eraser
- Markers, crayons, colored pencils, or paints (for decorating elements)
- Ruler or measuring tape
Remember, creativity often thrives with limitations. Don't feel you need to buy everything new. Look around your house for items that can be repurposed – empty toilet paper rolls, bottle caps, or even small, lightweight toys can all find a new life as part of your unique mobile!
Step-by-Step Guide: Crafting Your Own Mobile from Scratch
Ready to bring your mobile to life? Follow these easy steps to create a beautiful, balanced decoration for any room. Adult supervision is recommended, especially when using scissors or glue guns.
Step 1: Choose Your Theme and Design Your Elements
Before you start cutting, decide on a theme. Will it be a sky full of stars and clouds, a garden of flowers and butterflies, or perhaps a collection of fantastical creatures? Once your theme is set, sketch out your desired shapes or print out templates. Aim for a variety of sizes and shapes to add visual interest. You might want to draw symmetrical shapes for easier cutting and gluing.
Step 2: Prepare Your Elements
Carefully cut out all your chosen shapes from paper, felt, or fabric. This is a great task for kids to practice their scissor skills. If you want double-sided elements, cut two identical shapes and glue them together, perhaps with a piece of string sandwiched in between. Now is the time to decorate! Color, paint, add glitter, draw patterns, or glue on smaller embellishments like beads or sequins. Use a hole punch to create a small hole at the top of each element where you'll attach the hanging string.
Step 3: Create the Mobile Base
This is the structure from which all your elements will hang.
- For a Stick Cross: Take two sticks of roughly equal length. Find their balance point by laying them across your finger. Securely tie them together at their center point with string or yarn, forming a cross shape. Ensure the knot is tight and the sticks are stable.
- For an Embroidery Hoop: Simply separate the two rings of the hoop. You'll primarily use the inner ring, but the outer ring can be used for a second layer if desired.
- For a Wire Hanger: Reshape a metal hanger into a circular or cross form.
Step 4: Attach Hanging Strings to Elements
Cut lengths of string or fishing line for each element. The lengths will vary, as this helps with balance and visual appeal. Thread one end of the string through the hole you punched in your element and tie a secure knot. You can add a dab of glue to the knot for extra security, especially if using fishing line.
Step 5: Assemble and Balance
This is the trickiest, but most rewarding, part! Start by tying the longest elements to the center of your mobile base. Then, gradually add the other elements, tying them at various points around the base. The key is to constantly check for balance. If one side is heavier, you might need to adjust the string length of an element on the lighter side, or add another lightweight element to balance it out. Don't be afraid to experiment with different arrangements until your mobile hangs evenly. Patience is key here!
Step 6: Add the Main Hanging String
Once your mobile is balanced and all elements are securely attached, cut a longer piece of strong string or fishing line. Tie one end to the very top center of your mobile base (where the sticks cross, or at the top of the hoop). Form a loop at the other end for easy hanging. Ensure this knot is extra secure, as it will bear the entire weight of your mobile.
Theme Ideas & Inspiration: Endless Possibilities for Your Mobile
The beauty of a DIY mobile lies in its limitless potential for customization. You can match it to a child's bedroom decor, reflect their current fascinations, or simply create something vibrant and imaginative. Here are some popular themes and ideas to spark your creativity:
- Nature's Wonders:
- Celestial: Stars, moons, suns, planets, comets. Add glitter for extra sparkle!
- Garden: Flowers, leaves, buzzing bees, fluttering butterflies, ladybugs.
- Forest Friends: Owls, foxes, squirrels, trees, acorns.
- Underwater World: Colorful fish, playful dolphins, graceful jellyfish, seaweed, coral.
- Whimsical & Fun:
- Hot Air Balloons & Clouds: Cut out different sized balloons and fluffy clouds from paper or cotton balls.
- Rainbow Magic: Use elements in all the colors of the rainbow, or create a rainbow arch with various shapes hanging from it.
- Geometric Shapes: Simple circles, squares, triangles, and stars in varying sizes and colors can create a surprisingly sophisticated look.
- Personalized Touches:
- Alphabet & Numbers: Great for early learners, using letters or numbers as mobile elements.
- Favorite Hobbies: If your child loves sports, music, or reading, incorporate small representations of these interests.
- Family Portraits: Have children draw small portraits of family members or pets to hang.
Looking for inspiration or ready-to-color shapes? Wimolino.com offers a vast collection of free printable coloring pages that can be easily adapted into mobile elements. Simply print, color, cut, and hang! You can find everything from cute animals to abstract patterns, perfect for kick-starting your mobile project. Don't be afraid to mix and match textures, colors, and sizes to create a mobile that's visually engaging from every angle.
Safety First: Important Considerations for Hanging Your Mobile
While DIY mobiles are charming additions to a child's room, safety should always be your top priority. A mobile, especially one with small parts, can pose a hazard if not properly constructed and installed. Here are key safety guidelines to ensure your beautiful creation remains a source of joy, not worry:
- Hang Out of Reach: This is the most crucial rule. Ensure the mobile is hung high enough so that infants and young children cannot reach, grab, or pull on any part of it, whether standing in their crib or playing nearby. Mobiles are
More Articles
DIY Acrylic Paintings: Best Ideas and Techniques
Acrylic paints are perfect for beginners and advanced artists. Discover inspiring ideas and proven techniques for your acrylic paintings.
DIY Birthday Invitations for Kids: Creative Templates
Handmade invitation cards make every kids' birthday special. Discover creative templates and ideas to recreate.
Bookmark Crafts with Kids: Free Templates and Ideas
Making creative bookmarks is fun and motivates reading. Discover great templates and simple instructions for kids.