DIY Birthday Invitations for Kids: Creative Templates
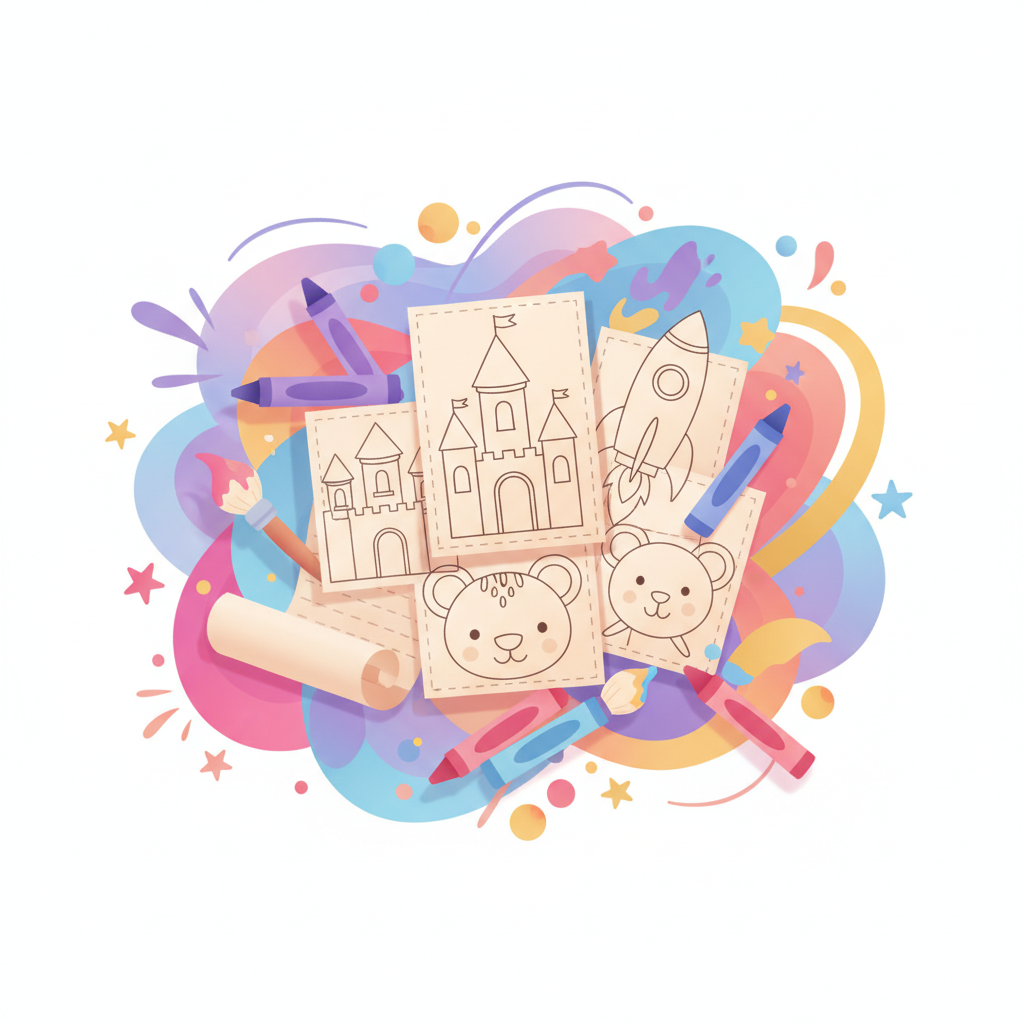
The Magic of Handmade: Why DIY Invitations Shine
In a world increasingly dominated by digital communication, there's an undeniable charm and warmth that comes with a handmade touch. Especially when it comes to celebrating a child's birthday, a DIY invitation isn't just a piece of paper; it's a tiny work of art, a burst of excitement, and a tangible preview of the fun to come. Opting to create your own birthday invitations for your child's special day offers a myriad of benefits that go far beyond simply saving a few dollars.
Firstly, a handmade invitation carries an incredible personal touch. It shows guests that thought, effort, and love were poured into every detail, making them feel truly valued and excited to be part of the celebration. For your child, being involved in the creation process can be an incredibly rewarding experience. It's a fantastic opportunity for them to express their creativity, contribute to their own party planning, and build anticipation for the big day. Imagine their pride when friends receive an invitation they helped design or color!
Beyond the emotional appeal, DIY invitations are also a wonderful way to unleash creativity without breaking the bank. You can customize every aspect, from the color scheme to the theme, ensuring it perfectly matches your child's personality and party concept. This level of customization is often expensive when ordering professionally, but with a few basic supplies and a dash of imagination, the possibilities are endless and budget-friendly. It’s an activity that fosters bonding, sparks imagination, and creates cherished memories even before the party begins.
Getting Started: Essential Supplies for Your Invitation Project
Embarking on your DIY invitation journey doesn't require a professional art studio or an extensive budget. Many of the materials you'll need are likely already in your home craft box or easily found at any local stationery or craft store. Gathering your supplies beforehand will make the creative process smooth and enjoyable. Here’s a list of essentials to get you started:
- Cardstock: This is the backbone of your invitation. Choose sturdy cardstock in various colors that complement your chosen theme. It's more durable than regular paper and gives your invitations a professional feel.
- Scissors: A good pair of sharp scissors is crucial for clean cuts. If your child is participating, ensure you have child-safe scissors for them.
- Glue Sticks or Craft Glue: For attaching various elements. Glue sticks are great for paper-to-paper adhesion and less messy, while craft glue might be needed for heavier embellishments.
- Coloring Supplies: Crayons, markers, colored pencils, or even watercolors will bring your designs to life. Let your child pick their favorites!
- Rulers and Pencils: For precise measurements and light sketching before cutting or coloring.
- Optional Embellishments: To add that extra sparkle and texture, consider having glitter, stickers, ribbons, googly eyes, decorative paper, or even small fabric scraps on hand. These can transform a simple card into something truly magical.
Remember, the goal is to have fun and be creative. Don't feel pressured to buy everything new; often, repurposing materials you already have can lead to unique and charming results.
Template Treasures: Creative Ideas for Every Theme
One of the most exciting aspects of creating DIY birthday invitations is designing them around your child's favorite themes. Forget generic store-bought cards; with a little creativity, you can craft invitations that perfectly set the stage for their party. Here are a few popular kid-friendly themes and ideas for incorporating them into your handmade invitations:
Space Explorer Adventure
Blast off into fun with a space-themed invitation! You could cut your cardstock into the shape of a rocket ship or a friendly alien. Use dark blue or black cardstock as the base, then add cutouts of planets in vibrant colors, twinkling stars made with glitter glue, or even a shiny foil moon. Guests will be ready for an out-of-this-world celebration.
Enchanted Forest Friends
For a whimsical party, an enchanted forest theme is perfect. Design invitations shaped like a majestic tree, a cute mushroom, or a friendly forest animal like a squirrel or an owl. Use earthy tones like greens, browns, and soft yellows. You can add texture with crumpled paper leaves, draw intricate vine patterns, or even glue on tiny bits of moss (if you're feeling extra crafty!).
Dinosaur Roar Party
Unleash prehistoric fun with dinosaur-themed invites! Cut your cardstock into the shape of a dinosaur footprint, a roaring dino head, or a jagged volcano. Use shades of green, brown, and orange. You can draw scales, add cutouts of palm trees, or even create a textured "lava" effect with red and orange paint. Don't forget to include a little "ROAR!" in your invitation text.
Under the Sea Adventure
Dive deep into celebration with an underwater theme. Invitations can be shaped like a playful fish, a shimmering mermaid tail, or a friendly crab. Use blues and greens for the water, and bright colors for sea creatures. Add wavy borders, draw bubbles, or glue on actual small shells or sand for a tactile experience. You can even use iridescent paper to mimic water's shimmer.
Looking for inspiration or ready-to-print elements? Wimolino.com offers a vast collection of free coloring pages that can spark ideas for any theme. You can even print out individual elements, like a cute animal or a rocket ship, from Wimolino.com to cut out and glue onto your invitations, making the design process even easier and more fun!
Step-by-Step: Crafting Your Custom Invitation
Now that you have your supplies and a theme in mind, let's walk through the process of creating your custom birthday invitations. This general guide can be adapted to any design and complexity level, ensuring a smooth and enjoyable crafting experience.
- Brainstorm and Plan: Before cutting or gluing, take a moment to visualize your invitation. What shape will it be? What colors? Where will the text go? A rough sketch can be incredibly helpful. If using a specific template idea, think about how you'll adapt it.
- Gather Your Materials: Lay out all your chosen cardstock, coloring tools, glue, scissors, and embellishments. Having everything within reach will keep your momentum going.
- Create the Base: This is usually the main card. Fold cardstock in half for a traditional card, or cut it into a specific shape (e.g., a rocket, a dinosaur footprint). Ensure all bases are uniform if you're making multiple invitations.
- Decorate and Personalize: This is where the magic happens!
- Coloring: Let your child color pre-drawn outlines or freehand designs.
- Gluing Elements: Cut out shapes (planets, animals, stars) from different colored cardstock and glue them onto your base. This is where those Wimolino.com printouts can come in handy!
- Adding Embellishments: Sprinkle glitter, stick on stickers, attach ribbons, or glue on googly eyes to bring your design to life.
- Write the Party Details: Once the decorations are dry, it's time for the essential information. Use a clear, legible pen. Include:
- Who: "You're invited to [Child's Name]'s Birthday Party!"
- What: The type of party (e.g., "a Super Fun Space Adventure").
- When: Date and time of the party.
- Where: The party location (address).
- RSVP: How and by when to respond (phone number or email).
- Review and Refine: Double-check all the details for accuracy. Ensure glue is dry and everything is securely attached. Make any final touches to the design.
Remember to keep the text clear and concise. A fun, themed phrase at the top can instantly capture attention and build excitement.
Adding a Personal Touch: Beyond the Basic Template
While templates provide a great starting point, the true charm of DIY invitations lies in their ability to be uniquely yours. Going beyond the basic cut-and-paste allows you to infuse even more personality and love into each card, making them truly unforgettable for both the sender and the recipient. Here are some ideas to add that extra special touch:
- Child's Own Artwork: Encourage your child to draw a picture related to their party theme directly on the invitation, or have them color in printed outlines
More Articles
Printable Bookmark Templates: 12 Free Designs
Practical printable bookmark templates to color: 12 free designs for kids and adults.
Crafts for Ages 3+: Easy Templates and Ideas for Little Hands
Even the littlest ones can get creative. Discover age-appropriate craft templates and ideas specially for children from age 3.
Paint by Numbers for Adults: Free Templates for Relaxation
Paint by numbers isn't just for kids. Discover sophisticated free templates that help adults unwind and relax.