DIY Christmas Cards: Free Templates and Ideas
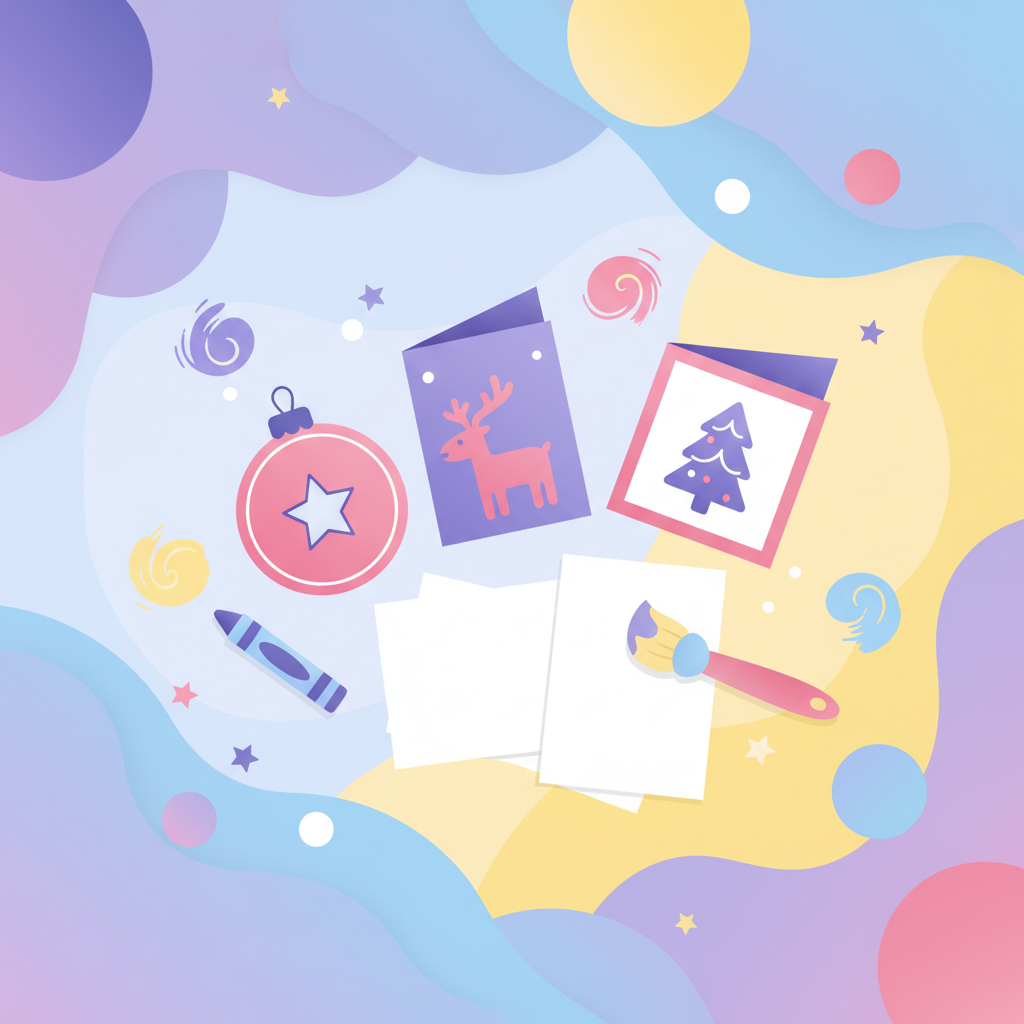
The Magic of Handmade Christmas Cards
There's something truly special about the holiday season, a time for warmth, connection, and spreading joy. While store-bought cards are convenient, nothing quite captures the spirit of Christmas like a handmade card. Imagine the smiles when friends and family receive a unique creation, crafted with love and personal effort! DIY Christmas cards aren't just a craft project; they're an opportunity for family bonding, a chance to unleash creativity, and a wonderful way to send truly personalized greetings.
Making your own cards offers a delightful break from the hustle and bustle, allowing you to slow down and enjoy a meaningful activity with your children. It's an excellent way to encourage artistic expression, fine motor skills, and even basic literacy as kids help write messages. Plus, it's incredibly cost-effective! With just a few basic supplies and some free templates and ideas, you can create a stack of heartfelt cards that will be cherished long after the holidays are over. Each card becomes a tiny piece of art, a tangible representation of your family's festive spirit, making it a truly unforgettable gift in itself.
Gather Your Supplies: What You'll Need
Before the crafting fun begins, it’s helpful to gather all your materials. The beauty of DIY Christmas cards is that you often don't need expensive or specialized items. Many supplies can be found around the house or purchased affordably.
Essential Supplies:
- Cardstock or Construction Paper: This forms the base of your cards. White, red, green, blue, or even brown paper are great choices. Thicker paper works best to prevent buckling from glue or markers.
- Scissors: Child-safe scissors are a must for younger crafters.
- Glue: A good quality glue stick or white school glue is perfect for attaching paper elements.
- Coloring Supplies: Crayons, colored pencils, markers, or even watercolors can bring your designs to life.
- Pencils and Erasers: For sketching designs before coloring or cutting.
Optional Embellishments to Spark Creativity:
- Glitter: A holiday classic! Use glitter glue for less mess.
- Stickers: Christmas-themed stickers (snowflakes, Santa, reindeer, trees) are quick and easy decorations.
- Ribbon or Yarn: Add bows or borders for a festive touch.
- Buttons: Small buttons can be great for snowman eyes or ornaments.
- Cotton Balls: Perfect for creating fluffy snow or Santa's beard.
- Fabric Scraps: Small pieces of felt or other fabrics can add texture.
- Old Magazines/Newspapers: Cut out festive images or interesting textures for collages.
- Stamps and Ink Pads: Christmas-themed stamps can add quick, repetitive designs.
And of course, for an incredible array of festive images that can be colored and cut out to become central design elements on your cards, don't forget to explore Wimolino.com! Our free coloring pages offer endless possibilities, from jolly Santas and playful elves to serene nativity scenes and intricate snowflake patterns, all ready to be printed and transformed into unique card embellishments.
Free Templates and Ideas to Spark Your Creativity
Templates are fantastic for getting started, especially for younger children or if you're feeling a bit stuck for ideas. They provide a structure that can be easily customized, ensuring beautiful results every time. While Wimolino.com doesn't offer direct card templates, our extensive collection of free coloring pages serves as an amazing resource for countless design elements that can be incorporated into any card template you choose!
Simple Template Concepts to Try:
-
The Classic Fold-and-Decorate Card:
This is the most straightforward option. Take a piece of cardstock, fold it in half (either horizontally or vertically), and then decorate the front. You can use a coloring page from Wimolino.com, color it, cut it out, and glue it onto the front of your card. Add a border, some glitter, and a heartfelt message inside.
-
Cut-Out Shape Cards:
Instead of a rectangular card, try cutting your cardstock into a festive shape – perhaps a Christmas tree, a star, a bell, or even a simple ornament. You can then decorate this shaped card. For instance, cut out a tree shape, then use small circles cut from green paper (or colored from a Wimolino.com page) as "ornaments."
-
Pop-Up Cards (Beginner Level):
Create a simple pop-up element inside your card. Fold your cardstock in half. On the fold line, make two parallel cuts about an inch apart. Push the cut section inwards to create a "shelf." You can then glue a small colored image (like a snowman or a present cut from a Wimolino.com coloring page) onto this shelf, so it "pops up" when the card is opened.
-
Layered Cards:
Use different sized pieces of paper or cardstock to create layers. For example, a larger green base card, with a slightly smaller red rectangle glued on top, and then a small square with a colored image from Wimolino.com glued on the very top layer. This adds depth and visual interest.
Remember, the "template" can be as simple as an idea or a printed outline. Use our coloring pages as your starting point for beautiful, detailed elements that transform a plain card into a work of art!
Creative Ideas for Every Skill Level
No matter the age or artistic ability, everyone can contribute to making beautiful Christmas cards. Here are some ideas tailored for different skill levels:
For Toddlers & Preschoolers (Ages 1-4):
- Fingerprint Lights: Draw a string on the front of a card. Let your little one dip their finger in colorful paint and press it along the string to create "Christmas lights."
- Handprint/Footprint Characters: Paint their hand green for a Christmas tree, or white for a snowman (add details with markers once dry). A footprint can become a reindeer!
- Sticker Extravaganza: Provide a variety of Christmas stickers and let them create a festive collage on the card.
- Crayon Scribble Art: Give them a pre-drawn simple outline (like a star or bell) or a simple coloring page from Wimolino.com, and let them scribble away with crayons. The vibrant colors will still look joyful!
For School-Aged Kids (Ages 5-10):
- Coloring Page Cut-Outs: Print several detailed coloring pages from Wimolino.com. Kids can color their favorite characters or scenes, then carefully cut them out and glue them onto cardstock to create unique designs.
- Collage Cards: Encourage them to cut out pictures from old magazines or brochures (winter scenes, gifts, festive foods) and combine them with their own drawings and coloring page elements to form a unique collage.
- Simple Pop-Up Scenes: Guide them through creating a slightly more complex pop-up, perhaps a row of Christmas trees or presents that stand up inside the card.
- Glitter & Glue Designs: Draw outlines of shapes (stars, snowflakes) with glue and let them sprinkle glitter over it for a sparkling effect.
For Tweens, Teens & Adults (Ages 11+):
- Detailed Coloring & Shading: Utilize more intricate coloring pages from Wimolino.com and practice advanced coloring techniques like shading and blending with colored pencils or markers.
- Paper Layering & Die-Cutting: Experiment with different textures and patterns of paper, layering them to create depth. If you have access to a die-cutting machine, use it for precise shapes.
- Hand Lettering & Calligraphy: Practice creative lettering for the "Merry Christmas" or "Happy Holidays" message on the front and inside of the card.
- Mixed Media: Combine drawing, painting, collage, and even simple embroidery or yarn accents for a truly unique, multi-textured card.
- Stenciling: Use stencils with paint or ink pads to create crisp, repeatable designs.
Step-by-Step: Crafting a Simple Folded Card
Let’s walk through making a classic, yet wonderfully personal, folded Christmas card. This is a fantastic project for all ages, with opportunities for everyone to contribute.
Here’s how to create your own:
- Step 1: Choose Your Card Base. Select a piece of cardstock. A standard 8.5x11 inch sheet folded in half will give you a card approximately 5.5x8.5 inches. You can fold it horizontally (hamburger style) or vertically (hot dog style). For smaller cards, cut your cardstock to a smaller size before folding.
- Step 2: Decide on Your Design. What do you want to feature on the front of your card? This is where Wimolino.com comes in handy! Browse our vast collection of free Christmas coloring pages. Do you want a cheerful Santa, a majestic reindeer, a cozy gingerbread house, or a festive wreath?
- Step 3: Print and Color Your Elements. Once you've chosen your coloring page, print it out. Now, the fun part for the kids (and adults!): color it in with crayons, markers, or colored pencils. Encourage them to use bright, festive colors.
- Step 4: Cut Out Your Design. Carefully cut out your colored image. For younger children, an adult might need to help with intricate cutting. You can cut around the entire image or just a specific part you want to highlight.
- Step 5: Assemble the Card Front. Glue your colored cut-out onto the front of your folded card. Position it centrally or off-center – whatever looks best! You can also add other elements like a border of contrasting paper, glitter glue along the edges, or small stickers.
- Step 6: Add a Festive Message. Inside the card, write a personal message. For younger children, they can draw a picture, or an adult can write their message for them. Encourage them to sign their name! Simple messages like "Merry Christmas!" or "Happy Holidays!" are perfect.
- Step 7: Final Touches. Check for any stray glue, add a final sprinkle of glitter if desired, or even a small piece of ribbon tied to the fold. Let the card dry completely before closing or placing it in an envelope.
And just like that, you’ve created a beautiful, personalized Christmas card that’s ready to bring a smile to someone’s face!
The Joy of Giving and Receiving Handmade Love
In a world increasingly dominated by digital communication, the act of sending and receiving a tangible, handmade Christmas card holds a special charm. It's a testament to the time, thought, and affection you've poured into it. When someone opens a card crafted by your family, they're not just getting a holiday greeting; they're receiving a piece of your creativity and a heartfelt reminder of your connection.
Making DIY Christmas cards can become a cherished family tradition, a yearly ritual that brings everyone together during the festive season. It's a wonderful way to create lasting memories, foster artistic skills, and most importantly, spread genuine warmth and personal cheer. So, gather your loved ones, pick out some fantastic coloring page elements from Wimolino.com, and start crafting. This Christmas, give the gift of handmade love – it's a present that truly keeps on giving!
More Articles
Watercolor Painting: Easy Ideas and Techniques for Beginners
Watercolor painting is beautiful and relaxing. Discover easy watercolor ideas and learn basic techniques step by step.
Color Theory for Kids: Mixing & Understanding Colors
Primary colors, secondary colors, complementary colors – color theory explained simply for children.
Printing Coloring Pages Perfectly: Best Settings
How to print coloring pages in optimal quality: the right print settings and paper tips.