Easter Craft Stencils: Free Printable Templates
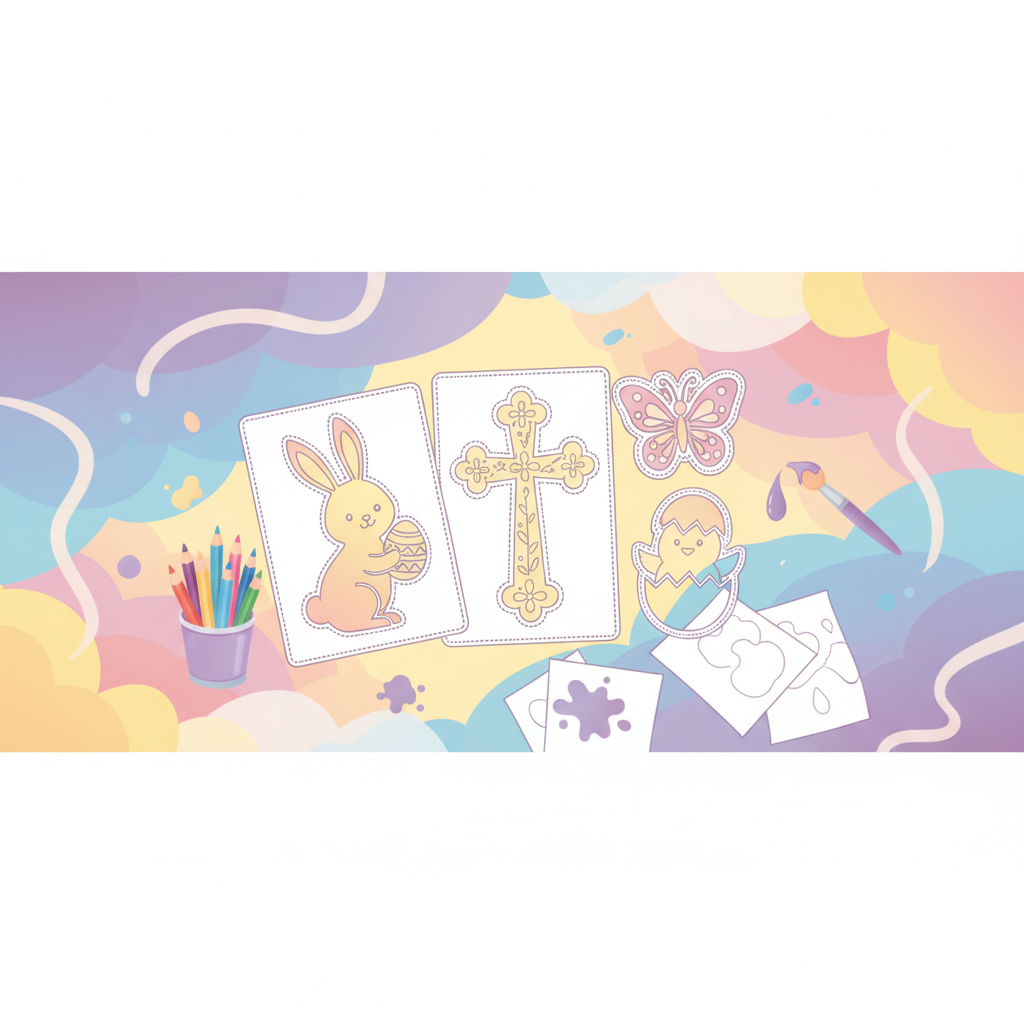
Hop into Creativity: The Magic of Easter Craft Stencils
Easter is a time for renewal, joy, and delightful family traditions. What better way to celebrate than by diving into some fun and engaging crafts with your little ones? While crafting can sometimes feel daunting, especially with younger children, there's a secret weapon that makes it not just easy but incredibly satisfying: stencils! Our free printable Easter craft stencils are here to transform your creative sessions, making them accessible, neat, and wonderfully rewarding for everyone.
Stencils take the guesswork out of drawing perfect shapes, allowing even the smallest hands to create beautiful, recognizable Easter motifs like fluffy bunnies, intricate eggs, cheerful chicks, and blooming spring flowers. They provide a fantastic framework for creativity, helping children build confidence as they produce impressive results. No more struggling with uneven lines or disproportionate figures – just crisp, clean shapes ready to be adorned with color and sparkle!
Imagine the smiles as your child proudly displays their handmade Easter card or a festive window decoration they crafted all by themselves (with a little help from you, of course!). Stencils simplify the process, focusing the fun on coloring, decorating, and personalizing, rather than the initial drawing challenge. Get ready to embark on a journey of imaginative play and charming Easter creations!
Unleash Easter Spirit: Countless Craft Ideas with Stencils
The versatility of Easter craft stencils means the possibilities are virtually endless. From simple projects perfect for toddlers to more elaborate decorations for older children, stencils are your go-to tool for bringing the spirit of Easter into your home. Here are just a few ideas to get your creative juices flowing:
- Decorate Easter Eggs (Paper or Real!): Use stencils to create patterns on paper cut-out eggs, or apply paint with a sponge over a stencil onto hard-boiled eggs for unique designs.
- Handmade Greeting Cards: Personalize Easter greetings by stenciling a cute bunny or a decorative egg onto cardstock. Add glitter, ribbon, and heartfelt messages for a truly special touch.
- Window Decorations: Stencil Easter shapes onto colorful construction paper, cut them out, and display them on windows to catch the spring light.
- Easter Banners and Garlands: Stencil repeating patterns of bunnies, eggs, or flowers onto cardstock flags, then string them together to create a festive banner for your home.
- Gift Tags: Make your Easter gifts extra special with handmade tags featuring stenciled designs.
- T-Shirt or Tote Bag Customization: With fabric paint and our stencils, you can create adorable Easter-themed apparel or reusable bags.
- Spring-Themed Wall Art: Frame stenciled designs to create charming artwork that brightens any room.
- Cookie Decorating: For the bakers, carefully place a stencil over a plain cookie and dust with powdered sugar or cocoa powder for an edible Easter design (ensure stencils are food-safe or use a clean paper stencil for dusting).
These ideas are just the beginning! Let your imagination guide you, and watch as our free printable templates transform into delightful Easter masterpieces.
Your Essential Stenciling Toolkit for Easter Fun
Before you dive into the colorful world of Easter stenciling, gathering a few basic supplies will ensure a smooth and enjoyable crafting experience. Most of these items you might already have around the house, making stenciling an affordable and accessible activity.
What You'll Need:
- Our Free Printable Stencils: The star of the show! Download your favorites right here on Wimolino.com.
- Paper: Standard printer paper for the stencils, plus various crafting papers like construction paper, cardstock, watercolor paper, or even fabric.
- Scissors or Craft Knife: For cutting out your stencils. Adult supervision is crucial when using a craft knife.
- Cutting Mat: If using a craft knife, a self-healing cutting mat will protect your surfaces.
- Tape: Masking tape or painter's tape is ideal for securing your stencil to your crafting surface, preventing it from shifting.
- Coloring Mediums:
- Paints: Tempera, acrylic, or watercolor paints work wonderfully. Fabric paints for textiles.
- Brushes: Stencil brushes (short, stiff bristles) or small sponge daubers are best for dabbing paint.
- Sponges: Cut up kitchen sponges can be excellent for applying paint evenly.
- Markers or Crayons: For tracing the stencil outline or coloring in stenciled shapes.
- Colored Pencils: Great for adding fine detail or shading.
- Protective Surface: Old newspapers or a plastic tablecloth to keep your workspace clean.
- Paper Towels or Wipes: For quick clean-ups and blotting excess paint.
Having these materials ready will make your Easter crafting session stress-free and allow you to focus purely on the joy of creating.
Step-by-Step Magic: How to Use Your Printable Easter Stencils
Ready to bring those Easter bunnies and eggs to life? Using our printable stencils is incredibly straightforward. Follow these simple steps for perfect results every time:
- Download and Print Your Stencils:
First, browse our fantastic collection of free Easter craft stencils right here on Wimolino.com. Once you've chosen your favorites – perhaps a cheerful Easter bunny, a decorative egg, or a sweet little chick – simply download and print them onto standard printer paper. For stencils you plan to reuse, consider printing them on slightly thicker cardstock or laminating them for durability.
- Prepare Your Stencil:
Carefully cut out the inner parts of the stencil design using scissors or a craft knife (adults only for the craft knife!). The part you remove is where your color will go. Ensure the edges are as clean and smooth as possible for crisp results.
- Prepare Your Crafting Surface:
Lay down newspaper or a protective sheet to keep your workspace clean. Make sure your crafting surface (paper, fabric, etc.) is clean, dry, and flat.
- Position and Secure Your Stencil:
Place your cut-out stencil onto your chosen crafting surface. Use masking tape or painter's tape to secure all four sides of the stencil firmly. This is a crucial step to prevent the stencil from moving and to minimize paint bleed underneath the edges. Ensure the tape is adhering well to both the stencil and your surface.
- Apply Your Color:
This is where the magic happens!
- For Painting: Dip your stencil brush or sponge dauber into a small amount of paint. Blot any excess paint on a paper towel – less is more! Gently dab the paint straight down onto the open areas of the stencil. Use light, even pressure, building up layers if needed, rather than swiping or brushing, which can cause paint to seep under the edges.
- For Tracing/Coloring: If using markers, crayons, or colored pencils, simply trace the inner edges of the stencil with a pencil, then remove the stencil and color in the outline. Or, for a quicker approach, color directly into the stencil's open areas.
- Carefully Remove the Stencil:
Once you've applied your color, gently peel off the tape and lift the stencil straight up and away from your crafting surface. Try not to drag it, as this can smudge your design. Revel in your perfectly formed Easter shape!
- Allow to Dry:
Set your masterpiece aside to dry completely. If you used paint, drying times will vary. Once dry, your Easter craft is ready to be admired, displayed, or given as a heartfelt gift!
Beyond the Basics: Elevate Your Stenciled Easter Crafts
Once you're comfortable with the fundamental stenciling techniques, you can start experimenting to add more depth and personality to your Easter creations. These advanced tips will help you take your projects from simple to stunning:
- Layering Colors: Don't stick to just one color per stencil! Use different shades to create gradients or highlights. For example, use a lighter green for the bottom of a leaf and a darker green for the top, or add a touch of pink blush to a bunny's cheek.
- Combining Stencils: Use multiple stencils on one project. You could stencil a large Easter egg, then add smaller chick or flower stencils on top of it once the first layer is dry. This creates complex and interesting scenes.
- Creating Patterns: Repeat a single stencil design across a surface to create a charming pattern, perfect for borders on cards or fabric. Ensure consistent spacing for a professional look.
- Adding Texture: Before the paint dries, sprinkle fine glitter onto your stenciled areas for a magical sparkle. You could also try applying a thin layer of craft glue and then adding beads, sequins, or even cotton balls for a fluffy bunny tail.
- Negative Space Stenciling (Reverse Stenciling): Instead of dabbing paint inside the stencil, spray or dab paint *around* the stencil, then remove the stencil to reveal the unpainted shape underneath. This creates a silhouette effect that can be very striking.
- Shading and Blending: Use a very dry brush to add subtle shading around the edges of your stenciled design, giving it a more three-dimensional appearance. Blend two colors together directly on the stencil for a soft transition.
Experimenting with these techniques will not only enhance your crafting skills but also encourage boundless creativity, allowing you and your children to produce truly unique and memorable Easter decorations.
The Educational Fun of Stenciling for Kids
Beyond the sheer joy of creating, engaging in stencil crafts offers a wealth of developmental benefits for children. It's a wonderful way to combine artistic expression with valuable learning opportunities, often without kids even realizing they're learning!
- Fine Motor Skill Development: Holding the stencil, dabbing paint, and carefully removing the stencil all require precise hand movements, strengthening small muscles in the hands and fingers.
- Hand-Eye Coordination: Children learn to coordinate what their eyes see with what their hands do, essential for tasks like writing and drawing.
- Shape and Color Recognition: Working with various Easter-themed stencils helps children recognize and name different shapes (eggs, circles, ovals) and associate them with colors.
- Patience and Focus: The process of carefully placing the stencil, applying color, and waiting for it to dry teaches patience and the ability to focus on a task from start to finish.
- Following Instructions: Step-by-step crafting encourages children to follow directions, a vital skill for both academic and everyday life.
- Creative Expression: While stencils provide a guide, children still have endless opportunities to choose colors, add details, and personalize their creations, fostering their unique artistic voice.
- Problem-Solving Skills: If paint bleeds or a stencil shifts, children (with guidance) can learn to troubleshoot and find solutions, building resilience and critical thinking.
- Boosts Self-Esteem: Successfully completing a craft project, especially one that looks neat and recognizable thanks to a stencil, gives children a wonderful sense of accomplishment and pride in their abilities.
- Family Bonding: Crafting together creates precious memories and strengthens family connections, providing a relaxed environment for communication and shared laughter.
So, as you gather around the table with your free Easter craft stencils, remember that you're not just making decorations; you're nurturing growth, creativity, and cherished family moments. Happy Easter crafting!
More Articles
First Day of School: Coloring Pages & Craft Ideas
Coloring pages and craft ideas for the first day of school: school cone, ABC and school bus motifs.
Easy Easter Crafts with Kids: 15 Quick Ideas
No complicated projects: these 15 simple Easter craft ideas are guaranteed to work and will delight little crafters.
Winter Crafts with Kids: Creative Ideas for Cold Days
Snowflakes, snowmen, and ice crystals: discover winter craft ideas that delight children on cold days.