Spring Window Crafts with Kids: Easy Ideas
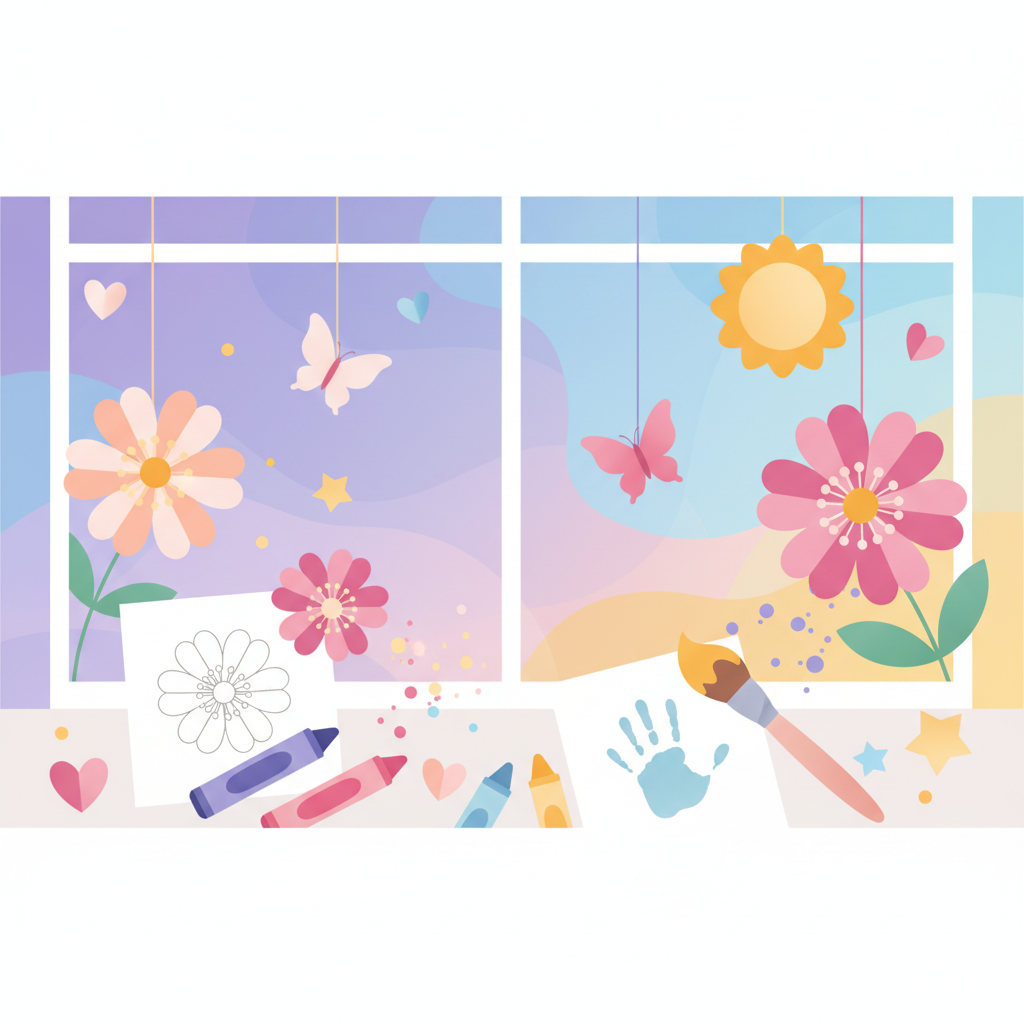
Embrace Spring with Vibrant Window Crafts for Kids
As the days grow longer and the world outside bursts into a symphony of color, there's no better time to invite that joyful spirit indoors. Spring window crafts are a delightful way to celebrate the season with your children, transforming ordinary windows into dazzling displays of creativity. Not only do these projects offer a fantastic opportunity for family bonding, but they also allow little hands to explore textures, colors, and shapes, all while creating something beautiful to admire.
Imagine the sunlight streaming through a homemade "stained glass" butterfly or illuminating a colorful paper flower. These easy and engaging crafts bring a sense of wonder and accomplishment to kids of all ages, from toddlers to school-aged children. Let's dive into some simple yet spectacular ideas that will have your windows sparkling with spring cheer!
Wonderful Materials for Brilliant Spring Displays
The beauty of spring window crafts lies in their simplicity and the accessibility of materials. You don't need expensive supplies to create stunning decorations. Often, the best crafts come from items you already have around the house or can easily find.
Tissue Paper Magic: DIY Stained Glass Effects
Tissue paper is a crafting superstar when it comes to window art. Its translucent quality makes it perfect for mimicking the look of stained glass when light shines through it. You can achieve vibrant, glowing effects with just a few sheets of colorful tissue paper and some adhesive.
- Tearing vs. Cutting: For younger children, tearing tissue paper into small pieces is a wonderful sensory activity that also helps develop fine motor skills. Older children can practice their scissor skills by cutting out specific shapes like flowers, leaves, or geometric patterns.
- Adhesive Options: A simple glue stick works well for sticking tissue paper pieces onto wax paper or contact paper. For direct application onto a window (with adult supervision and temporary adhesive), a diluted white glue solution or even clear tape can be used for less permanent options.
- Design Ideas: Encourage abstract designs by overlapping colors, or guide them to create specific spring motifs like butterflies, rainbows, or blossoming trees.
Cardboard Cutouts: Sturdy & Customizable Shapes
Don't throw away those cereal boxes or delivery packaging! Cardboard is a sturdy and versatile material for spring window crafts. It provides a firm base for painting, coloring, and decorating.
- Recycled Resources: Almost any clean cardboard can be repurposed. Cut out large shapes like bunnies, birds, fluffy clouds, or the sun.
- Decoration Galore: Once you have your cardboard shapes, the decorating possibilities are endless. Kids can paint them with bright spring colors, draw intricate patterns with markers, glue on glitter, attach small pieces of fabric, or even stick on natural elements like dried leaves and petals. Remember to poke a hole at the top and add a string if you want to hang them.
Nature's Touch: Incorporating Found Objects
Spring is all about new life and nature's awakening. Why not bring a little bit of the outdoors in? Incorporating natural elements into your window crafts adds a unique, organic touch.
- Pressed Flowers and Leaves: Collect small, colorful flowers and delicate leaves during a nature walk. Press them between heavy books for a few days until they are flat and dry. These can then be carefully glued onto contact paper or paper frames to create beautiful, natural suncatchers.
- Small Twigs or Feathers: With adult supervision, small, clean twigs can be used to create frames or interesting textures. Feathers (ethically sourced) can add a soft, whimsical touch to hanging mobiles. Always ensure any natural items are clean and free of insects before bringing them inside.
Step-by-Step: Crafting a "Stained Glass" Tissue Paper Suncatcher
This classic craft is a favorite for a reason – it's easy, beautiful, and provides stunning results that catch the light wonderfully. Here's how to make one:
Materials You'll Need:
- Wax paper or clear contact paper (two sheets of the same size)
- Assorted colors of tissue paper
- Scissors (child-safe if kids are cutting)
- A pencil
- String or ribbon for hanging
Instructions:
- Prepare Your Base: If using wax paper, cut two sheets to your desired size (e.g., 8x10 inches). If using contact paper, peel the backing off one sheet and lay it sticky-side up on a protected surface.
- Cut or Tear Tissue Paper: Help your child cut or tear the tissue paper into small shapes – squares, triangles, circles, or abstract pieces. Encourage them to use a variety of colors.
- Arrange and Stick: If using contact paper, let your child arrange the tissue paper pieces directly onto the sticky surface. They can overlap colors, create patterns, or simply cover the entire area. If using wax paper, you'll need to apply a thin layer of liquid glue or glue stick to one sheet of wax paper first, then place the tissue paper pieces on top.
- Seal Your Creation: Once all the tissue paper is in place, carefully lay the second sheet of wax paper or contact paper over the top. Press down firmly, smoothing out any air bubbles with your hands. This seals the tissue paper inside, protecting it and creating that lovely "stained glass" effect.
- Trim and Hang: With adult help, trim the edges of your suncatcher to create a neat border. You can cut it into a specific shape (like a heart, star, or butterfly) or leave it rectangular. Punch a small hole at the top and thread a piece of string or ribbon through it. Now, find the perfect sunny window to display your masterpiece!
More Creative Spring Window Craft Ideas
Beyond the classic suncatcher, there are countless ways to adorn your windows with spring themes. Let your imagination soar with these additional ideas.
Handprint/Footprint Flowers or Critters
Personalize your window display by incorporating your child's handprints or footprints. These make for adorable keepsakes and unique decorations.
- Flower Garden: Paint your child's hand green for a stem and leaves, then use different colored paint for the "petals" of a flower. Or, use multiple handprints in a circle to form a vibrant blossom.
- Busy Bees or Butterflies: A yellow handprint can become a bee with black stripes and antennae drawn on, or a pair of colorful handprints can transform into butterfly wings.
- Bunnies or Chicks: Footprints can be creatively turned into cute spring animals with a few added details.
Once dry, cut out these creations and attach them to your window using temporary adhesive or string them together to create a charming garland.
Hanging Mobiles with Spring Themes
Create a dynamic window decoration that dances in the slightest breeze. Mobiles are fantastic for adding movement and whimsy.
- Elements: Cut out various spring shapes from cardboard or construction paper – think puffy clouds, raindrops, buzzing bees, blooming flowers, or chirping birds.
- Assembly: Decorate each element with paint, markers, or glitter. Then, punch a small hole in each one and attach different lengths of string. Tie these strings to a central stick, a coat hanger, or even a paper plate, ensuring the mobile is balanced. Hang it in front of your window and watch it sway.
Coloring Page Window Art
This is where Wimolino.com comes in handy! If your child loves coloring, you can easily turn their favorite spring-themed coloring pages into stunning window art. Wimolino.com is a fantastic resource for free coloring pages, offering a vast array of spring-themed designs that are perfect for this project. Users can print images, color online, or even create custom ones with AI, ensuring you find the perfect design for your window.
- Color and Cut: Print out a spring coloring page from Wimolino.com. Have your child color it in vibrant hues. Once colored, carefully cut out the main image.
- Laminate or Seal: For a more durable and translucent effect, you can laminate the colored cutout, or cover it with clear contact paper. This will make the colors pop when light shines through.
- Display: Attach the finished artwork directly to the window using a temporary adhesive like a glue dot or a small loop of tape. The light will illuminate the colors, creating a beautiful effect.
The Educational Benefits of Spring Crafting
Beyond the sheer joy of creating, engaging in spring window crafts offers a wealth of developmental benefits for children. It's learning disguised as fun!
Boosting Fine Motor Skills and Hand-Eye Coordination
Activities like cutting, tearing, gluing, and arranging small pieces of tissue paper or other materials are excellent for developing fine motor skills. These precise movements strengthen the small muscles in the hands and fingers, which are crucial for tasks like writing, buttoning clothes, and tying shoelaces. Hand-eye coordination also improves as children learn to guide their hands to achieve a desired visual outcome.
Nurturing Creativity and Imagination
Crafting provides a blank canvas for children's imaginations. They get to choose colors, shapes, and designs, fostering their ability to think creatively and express themselves. There's no "right" or "wrong" way to create art, which encourages experimentation and builds confidence in their own ideas and problem-solving abilities.
Learning About Seasons and Nature
Spring crafts are a wonderful way to introduce and reinforce concepts about the changing seasons. As children create flowers, butterflies, and rainbows, you can discuss the themes of new life, growth, weather patterns, and the different animals that emerge in spring. This hands-on experience makes learning about nature engaging and memorable.
Strengthening Family Bonds
Crafting together is a fantastic opportunity for quality family time. It encourages communication, teamwork, and shared laughter. Working on a project side-by-side creates lasting memories and strengthens the bond between parents and children, fostering a supportive and creative home environment.
Tips for a Smooth and Enjoyable Crafting Session
To ensure your spring window crafting adventure is as fun and stress-free as possible, here are a few practical tips for parents and educators:
- Preparation is Key: Before you start, gather all your materials and lay them out on a protected surface. Cover your table with newspaper or an old tablecloth to make cleanup easier.
- Safety First: Always supervise young children, especially when using scissors or glue. Opt for child-safe, non-toxic glues and blunt-tipped scissors appropriate for their age.
- Embrace the Mess: Crafting can get a little messy, and that's perfectly okay! It's part of the creative process. Have wipes or a damp cloth handy for quick cleanups.
- Encourage Individuality: Remind children that their creations don't have to look perfect or exactly like an example. Encourage them to express their own unique ideas and celebrate their individual artistic choices.
- Display with Pride: Once the masterpieces are complete, find the perfect spot on your window to display them. Let your children choose where their art goes. Seeing their work admired builds self-esteem and a sense of accomplishment.
- Cleanup Crew: Involve children in the cleanup process. This teaches responsibility and helps them understand that every activity has a beginning, middle, and end.
Bringing the vibrant energy of spring indoors through these simple and beautiful window crafts is a rewarding experience for the whole family. So, gather your materials, spark your creativity, and get ready to make your windows shine with the joyous spirit of the season!
More Articles
Autumn Crafts with Kids: Leaves, Animals & Coloring Pages
Creative autumn crafting ideas with coloring pages: leaves, hedgehogs, kite flying and more.
Easter Crafts with Kids: Coloring Pages & Ideas
The best Easter craft ideas with free coloring pages: Easter bunnies, Easter eggs and spring motifs.
Spring Crafts with Kids: Flowers & Butterflies to Color
Spring is here! The best coloring pages and craft ideas with flowers, butterflies and ladybugs.